Monday, February 13, 2012

Broccoli Chicken Cheddar Braided Crescent Recipe

This is our new favorite meal!

This beautiful braided crescent is easy and quick - as in the whole thing is prepped while your oven preheats! That's my kind of dinner. I saw this recipe on Food Family Finds, and knew I had to try it.

Mix together chicken (I've used canned chicken as well as Cousin Darlene's chicken), broccoli, cheese, egg, and mayo together in a bowl. When I used leftover chicken I didn't add the mayo.

Spread your crescent rolls out to form a rectangle. You can use store-bought crescents, but I've been making my own and they are fantastic! I think I've actually cured myself of the urge to buy Pillsbury crescent rolls! (recipe below)

Add the chicken mixture to the middle of the crescent roll rectangle. Then use kitchen shears or a knife to make strips along each side. (this looks like the braided calzone, doesn't it?!?)

Beginning from one end, alternate sides, pulling the dough across at an angle. Each strip should be close to the one before it, but it certainly does not need to be perfect.

This part actually goes quickly...

and yet the final result is awesome!

Brush the braid with a wash of egg white mixed with a tablespoon of water. Top with more cheese if desired.

Bake in your preheated oven at 375 for 30 minutes...golden, cheesy, and delicious!


Homemade Crescent Roll Recipe (adapted from food.com)
2 eggs
1/2 cup sugar
1/2 cup Crisco
1 cup warm water
2 1/4 teaspoons yeast
1 teaspoon salt
4 cups flour

Beat eggs and sugar until well combined. Add sugar, Crisco, water, yeast, salt, and 2 cups flour. Gradually add remaining 2 cups of flour. Turn out onto a well floured surface and knead in enough additional flour so the dough is no longer sticky. I usually do not have to add much additional flour. 
Divide the dough in half - each half makes about 12 crescent rolls or one broccoli chicken braid.


  • To make immediately, let dough rise in a warm place for about 1 hour. Then shape dough into crescent rolls and bake or flatten on a cookie sheet for the braid.


  • To make later, store in the refrigerator without rising. As long as you let it sit for about 4 hours, that will be sufficient rise time in the fridge. Or store for up to 4 days and use as above. 


  • Broccoli Chicken Cheddar Braided Crescent Recipe (adapted from Food Family Finds)


  • 2 cups chicken, cooked and chunked - use canned or leftover chicken for minimal prep
    1 cup shredded cheddar cheese
    2 cups chopped frozen broccoli, thawed
    1 egg yolk (reserve egg white for wash)
    1/2 cup mayonnaise
    rosemary (or other preferred herb)
    crescent roll recipe (above) or 2 cans of Pillsbury crescent rolls

    Preheat oven to 375. Combine chopped chicken, cheese, broccoli, egg yolk, mayo, and rosemary in a bowl. Spread crescent roll dough onto a large cookie sheet lined with a silicone baking mat or parchment paper. Add the chicken mixture to the middle of the dough. Using kitchen shears or a knife, cut strips along each side of the chicken. Start from one end and alternate sides, pulling a strip of dough across to the opposite side. When the whole braid is finished, add about 1 Tablespoon of water to the reserved egg white and brush the top of the braid with the wash. Sprinkle additional cheese if desired. Bake for 30 minutes until golden brown. Slice and enjoy!

    Wednesday, February 8, 2012

    Homemade Valentines: Brown paper candy pouches

    I was trying to come up with a cute homemade valentine that wouldn't be too labor intensive, and I remembered how much fun I had with the sewn paper candy pouches for Christmas. So with just a few adjustments, I ended up with this:

    I used a cookie cutter to trace a heart shape on a Trader Joe's paper bag. After I cut out the hearts, we decorated them with stickers and stamps.

    I filled a few with little lollipops, which ended up working way better when I hand-stitched around the edges instead of using my sewing machine.

    I filled the rest with pink M&Ms.

    Super simple, and minimal time involved. You don't even need a sewing machine! (although I will add that my fingers were a bit sore after stitching a few of these by hand)

    Aren't they cute?

    Let me know if you make them!

    Tuesday, February 7, 2012

    Quick dinner recipe: Cheesey baked chicken

    This has been a family favorite since I was in middle school. My family has always called it Cousin Darlene's Chicken, thanks to my dad's cousin who made it for us originally. Its super easy, and I even make it in the crockpot if I'm going to be out for a while that particular day.

    All you need is condensed cream of chicken soup (or mushroom works too), swiss cheese, and bread crumbs or Stove Top stuffing. And chicken!

    I spread a little of the soup in the bottom of my baking dish with a spatula. Place chicken in the baking dish and cover with remaining soup. You could also add a little water, depending on how much chicken you are making. Top with swiss cheese and sprinkle on stuffing. Bake at 375 for 30-35 minutes, or until chicken is done.

    I probably shouldn't even include these "after" pictures. The lack of daylight when I finish dinner is really making it difficult to post recipes! Trust me, these look way better in person. (And yes, two large pieces of chicken are already missing)

    We usually serve this with rice and veggies. The soup makes a lovely sauce that is amazing poured over your rice. This is a great comfort food in the winter, and a winner for the whole family!

    Side note: I am planning to use these instructions from Mindfully Frugal Mom to make my own cream of chicken soup. Have you ever made yours from scratch? I'm looking forward to trying it!

    Monday, February 6, 2012

    January Goals Update

    We are just over a month into 2012 which is a great mile marker to evaluate how I'm doing on my year-long goals. Here is a look at how I am doing on my big goals:

    Read 48 books. I read 6 in January (that's 2 ahead of my pace for the year) - 4 were "normal" reads, one audio book, and one read aloud to my daughter. I use Goodreads to keep track of what I read.

    Memorize 52 Scripture verses. My husband and I are working the Fighter Verses together. We have 4 out of 5 weeks memorized right now, so that's a solid start! Also, we are working with our 3-year-old on memorizing the "Foundation verses" - these are shorter and have a visual aid to help them remember the passage. She has 3 of 5 memorized, and then yesterday came out with our whole week one verse, which is much longer!

    Work on our Adoption. We have made only a little progress here. We are looking at different agencies right now and talking with friends who have experience with foster care adoptions. Hoping for some real news to report at the end of February!


    Organize and Declutter. I'm loosely using Home Storage Solutions 52 weeks to a more organized home as a guide. I worked on the kitchen in weeks 1-3, thanks to my ongoing battle against food waste, I have very little to do in the fridge and freezer, and I'm hoping to get a shelf up in my kitchen this week to store my cookbooks in a location that makes more sense. I'm happy with this progress!

    I have new motivation for making our home more organized thanks to Organized Simplicity. As I'm going through old papers, trinkets, and a few boxes that have yet to be unpacked from our move (3 years ago!) I am asking "is it beautiful? is it useful?" If the answer is no, I'm getting rid of it! I highly recommend Organized Simplicity; its an easy read with tons of practical advice.

    Lastly, I have a fun ongoing project for this year. Every weekend I'm writing down one or two highlights from our week - favorite family activities, important things that happened, or special memories. Sometimes these are big, but sometimes just a little thing that I know would be forgotten even a few weeks from now. We're planning to read through them at the end of 2012. If you would like to join me, now is the time! You could probably come up with something from each week so far in the year by looking back at your calendar. But I know that if I don't write things down, they will be gone from my memory way too soon!

    Do you have long term goals set for the next several months? If not, I cannot recommend it enough. Making a goal and breaking it down into manageable smaller goals has been so helpful for our family. Its great to be able to look back and see that we are making progress, even if it is not always quite as much as I had hoped!

    Here is my original goals post.

    Tuesday, January 31, 2012

    Simple Winter Activities, Part 2

    Did you see the first installment of our winter crafts and activities? Here are four more winter-themed crafts that we've enjoyed the last few weeks.

    I thought this brown paper bag fireplace from Kaboose was too cute! We've used it as decoration for our TP snow people, they are the perfect size.

    I took a plain brown paper bag and used a ruler to draw brink lines on the bag. Then we colored it with a red crayon.

    I also cut out the rest of the fireplace out of construction paper. The link to Kaboose has a patter, but I just free handed it. Its not perfect, but it still turned out well.

    Our finished product!

    I saw this ice activity on Delia Creates and thought it was pure genius! I took several plastic containers I use for leftovers and filled them with water. Then I put in a few different toys, mostly taken from our bath toy collection. A few hours in the freezer turned them into blocks of ice filled with hidden treasures!

    I also used some leftover sour cream and yogurt containers to make some different sizes and shapes.


    I filled up a tub with warm water and stuck the kids on a towel in the kitchen. They loved playing with the giant ice cubes and seeing the animals appear as the ice melted. I also frozen some ice cube trays with colored water. First we added the yellow ice cubes. You can see the water has turned pretty yellow here! Then we added the blue cubes (lower left corner of the tub) and watched the water change from yellow to green. They absolutely loved it, especially getting to play in the water in the middle of winter.

    2 Teaching Mommies has a great Polar Lands Preschool pack available for free download, which we have really enjoyed. One of the fun activities is to take this penguin printable and attach him to a old cereal box. Cut a hole in his beak and then you have a great fine motor skill activity!

    During their morning snack, my kids fed him cheerios while they ate some of their own. Then we got down and used poof balls to feed the penguin. They sat together and stuffed him full of poof balls, and then I had them do "races" - a relay across the room to get poof balls then run back to feed the penguin. Its a great way to burn off some energy when you are stuck inside!

    This last craft is probably my favorite. I love homemade puffy paint. We use it for tons of different art projects, and it is easily colored too. For this snowman, white was the perfect color though. Our supplies: shaving cream, school glue, three paper plates, two pipe cleaners, and foam sheets.

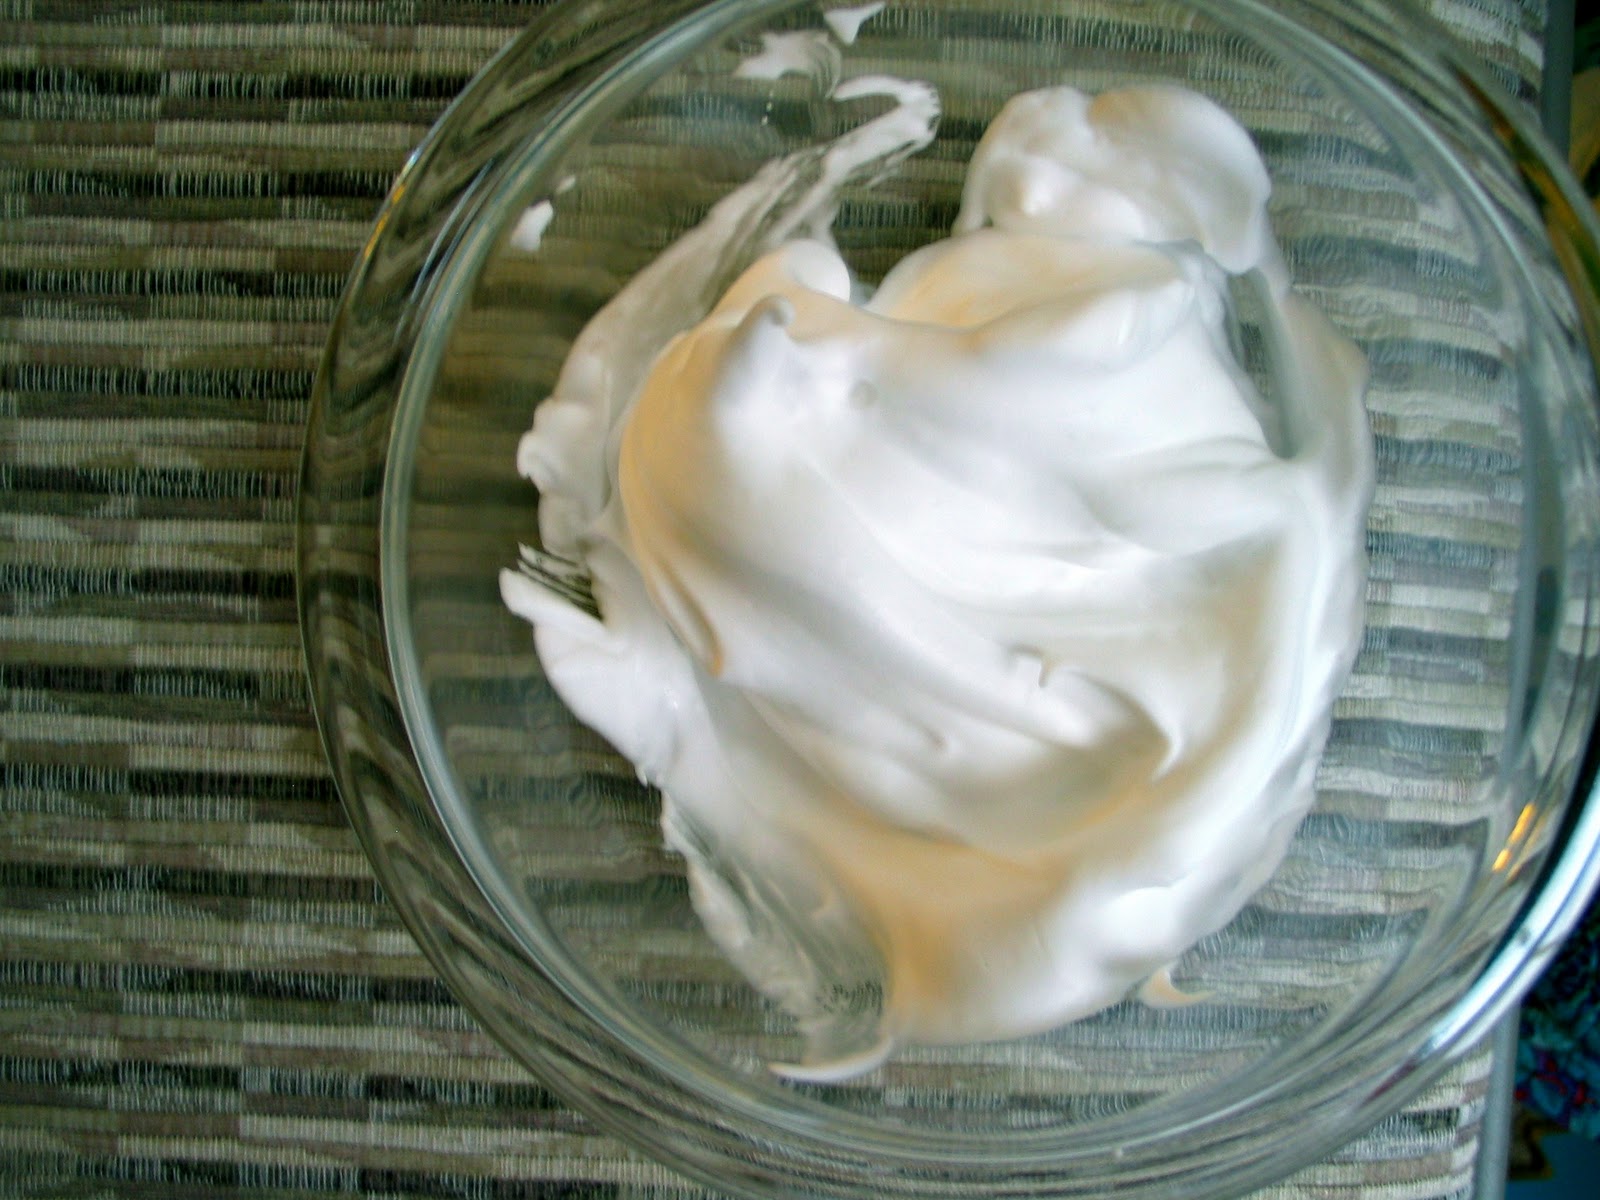
    To make your puffy paint, mix shaving cream and glue in about equal parts. I make it a little heavier on the shaving cream side usually. I cut the paper plates to make the three snowballs for our snowman and we used paint brushes to heap on the shaving cream.

    I cut a had, buttons, and the mouth out of our foam paper (but you could use construction paper too). I cut out a triangle for a carrot nose, and the blue scarf also. Since the paint has glue in it, we could just stick the foam into the puffy paint and everything held in place! 

    What a great face! The puffy paint gives such great texture and depth.

    We taped the plates together and hung him up on our front door!

    Do you have any favorite winter activities to share?

    Monday, January 30, 2012

    A little sewing project

    I had some fun with a quick sewing project a few weeks ago. My sister, who is a photographer, was visiting that day, so it made it a lot easier to get some nice pictures...thanks, Becca!

    I found these adorable babydoll bunk beds sitting by the curb on trash day several months ago. They were adorable and seemed to be in decent shape, so I decided to give them a new home!


    I wanted to give them a bit of makeover, though, so I took an old sheet and a curtain valence we were not using and set to work to repurpose!

    From the old flat sheet I made fitted sheets for both of the doll mattresses, a flat sheet for each, as well as a little pillow.

    I kept things really simple...sew the edges for the fitted sheets, then flip them inside out.

    The unused valence became baby blankets!

    I used a seam-ripper to take off the loops for the curtain rod so I was left with a large rectangle. I cut that into two smaller pieces, finished the end, and instant blankets!

    The end result:

    This was a simple and easy way to repurpose (someone else's) trash and a few things that were collecting dust in my house. And I'm happy to report that a certain little girl is loving her baby bunk beds!

    Any recent repurpose stories to share?

    Friday, January 27, 2012

    Chick-Fil-A style chicken nugget recipe

    One of the most read posts on Thrifty Living is the Chick-fil-a nugget recipe. It always makes me cringe slightly when I click back through the post, though, because the pictures are not some of my best quality! So, here is an updated post of the same recipe.


    You will need:
    Cooking Oil {you can use Peanut but it is not necessary} -- I always use vegetable oil and they taste great
    1 Egg
    1 Cup of Milk
    1 Cup of Flour
    2 1/2 Tablespoons of Powdered Sugar
    1/2 Teaspoon Pepper
    1 Tablespoon of Salt (I cut that in half)
    2 Skinless Boneless Chicken Breast, cut in strips or cubed 

    First mix together the egg and milk and let the chicken pieces set in the mixture. (There is plenty of speculation that Chick-fil-a adds dill pickle juice to the marinade, but I've never done this). In a separate bowl, combine flour, sugar, salt and pepper and stir.

    I let it soak for an hour or so. Its nice to be able to prep everything before hand so all I have to do is coat and cook the chicken when its time to eat.

    Heat oil (I used a cast iron skillet on the stove over medium heat). Dredge the chicken pieces in the flour mixture until coated. I usually double dip - so egg/milk, then flour, back to egg/milk, then flour.

    Place chicken in hot oil. Cook about 5 minutes per side, depending on the size of your nuggets. Resist the urge to flip too early! You want them to be golden brown.

    Once the chicken is cooked on both sides, remove from oil and place on a paper towel to dry. I usually cook mine in two batches.

    Be sure to pair with your favorite dipping sauces...we use BBQ, ranch dip, blu cheese dip, ketchup, or honey.

    These are really best the day they are cooked. We usually have a few leftovers, and they are just not the same the next day!

    Originally from Under the Table and Dreaming, though you can find it on many different blogs as well.
    Related Posts with Thumbnails