Tuesday, January 31, 2012

Simple Winter Activities, Part 2

Did you see the first installment of our winter crafts and activities? Here are four more winter-themed crafts that we've enjoyed the last few weeks.

I thought this brown paper bag fireplace from Kaboose was too cute! We've used it as decoration for our TP snow people, they are the perfect size.

I took a plain brown paper bag and used a ruler to draw brink lines on the bag. Then we colored it with a red crayon.

I also cut out the rest of the fireplace out of construction paper. The link to Kaboose has a patter, but I just free handed it. Its not perfect, but it still turned out well.

Our finished product!

I saw this ice activity on Delia Creates and thought it was pure genius! I took several plastic containers I use for leftovers and filled them with water. Then I put in a few different toys, mostly taken from our bath toy collection. A few hours in the freezer turned them into blocks of ice filled with hidden treasures!

I also used some leftover sour cream and yogurt containers to make some different sizes and shapes.


I filled up a tub with warm water and stuck the kids on a towel in the kitchen. They loved playing with the giant ice cubes and seeing the animals appear as the ice melted. I also frozen some ice cube trays with colored water. First we added the yellow ice cubes. You can see the water has turned pretty yellow here! Then we added the blue cubes (lower left corner of the tub) and watched the water change from yellow to green. They absolutely loved it, especially getting to play in the water in the middle of winter.

2 Teaching Mommies has a great Polar Lands Preschool pack available for free download, which we have really enjoyed. One of the fun activities is to take this penguin printable and attach him to a old cereal box. Cut a hole in his beak and then you have a great fine motor skill activity!

During their morning snack, my kids fed him cheerios while they ate some of their own. Then we got down and used poof balls to feed the penguin. They sat together and stuffed him full of poof balls, and then I had them do "races" - a relay across the room to get poof balls then run back to feed the penguin. Its a great way to burn off some energy when you are stuck inside!

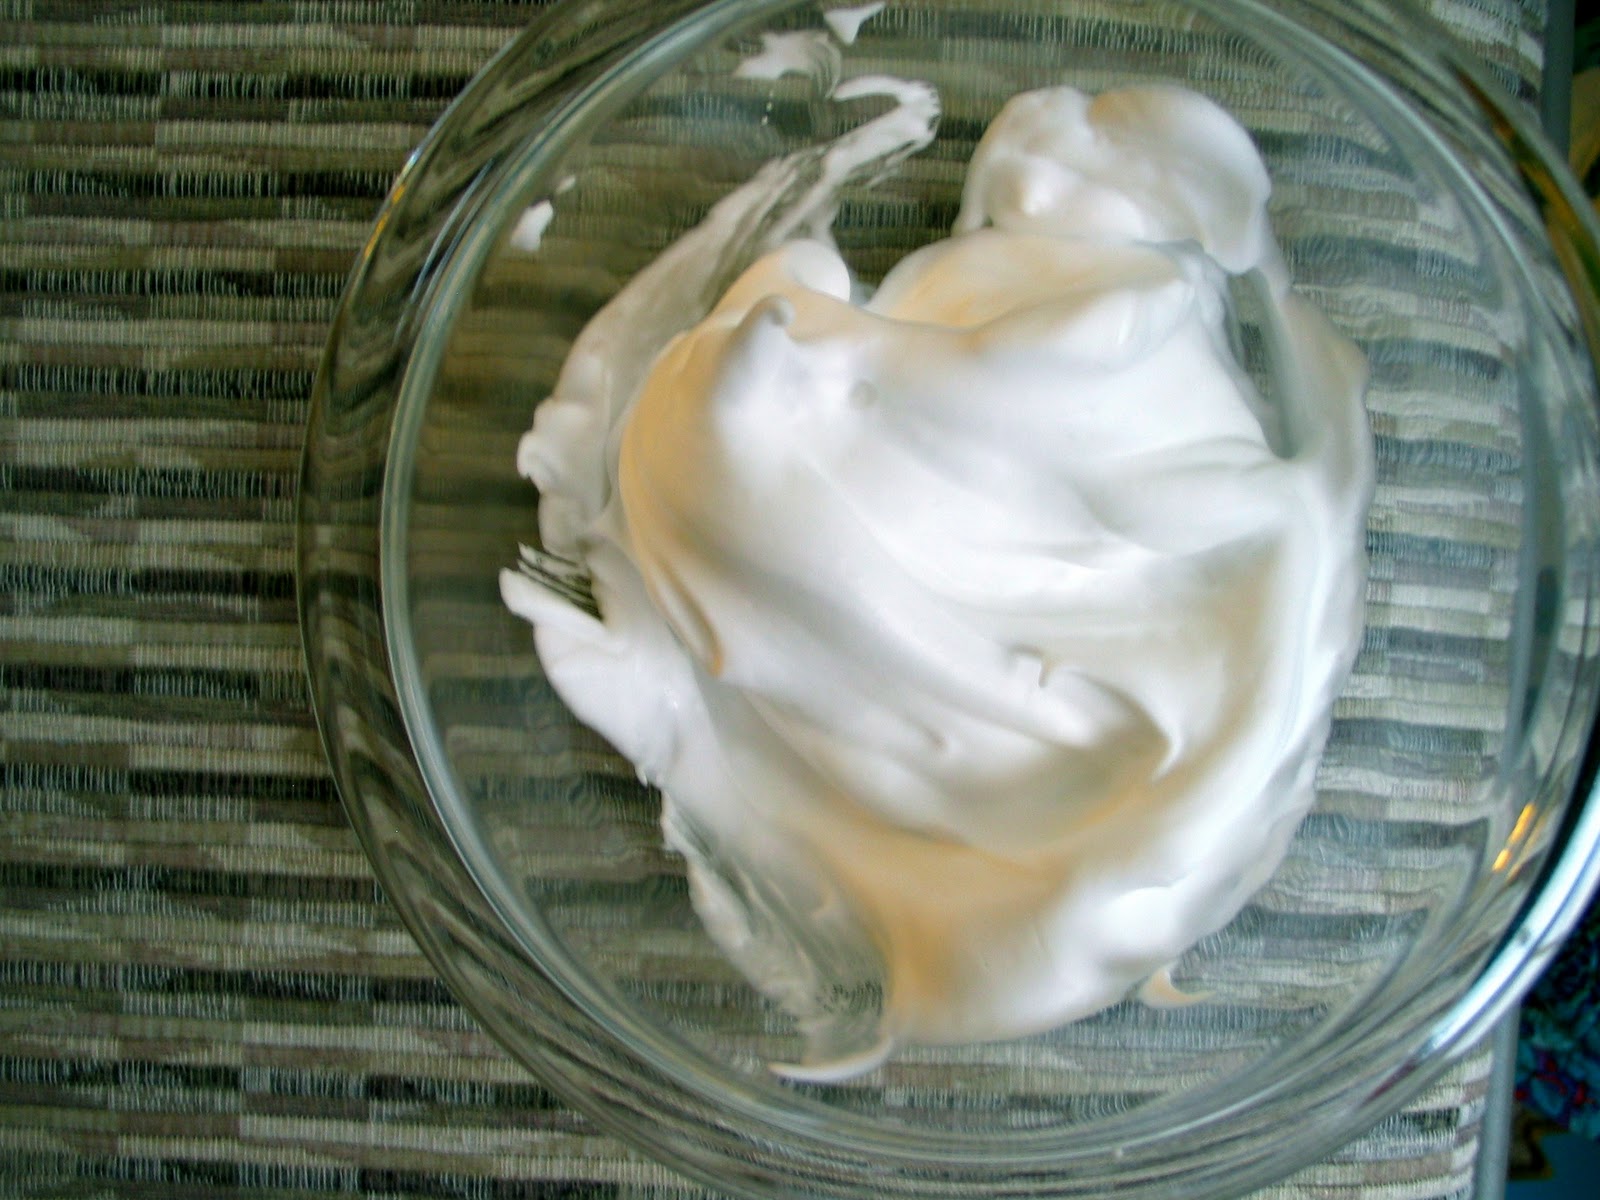
This last craft is probably my favorite. I love homemade puffy paint. We use it for tons of different art projects, and it is easily colored too. For this snowman, white was the perfect color though. Our supplies: shaving cream, school glue, three paper plates, two pipe cleaners, and foam sheets.

To make your puffy paint, mix shaving cream and glue in about equal parts. I make it a little heavier on the shaving cream side usually. I cut the paper plates to make the three snowballs for our snowman and we used paint brushes to heap on the shaving cream.

I cut a had, buttons, and the mouth out of our foam paper (but you could use construction paper too). I cut out a triangle for a carrot nose, and the blue scarf also. Since the paint has glue in it, we could just stick the foam into the puffy paint and everything held in place! 

What a great face! The puffy paint gives such great texture and depth.

We taped the plates together and hung him up on our front door!

Do you have any favorite winter activities to share?

Monday, January 30, 2012

A little sewing project

I had some fun with a quick sewing project a few weeks ago. My sister, who is a photographer, was visiting that day, so it made it a lot easier to get some nice pictures...thanks, Becca!

I found these adorable babydoll bunk beds sitting by the curb on trash day several months ago. They were adorable and seemed to be in decent shape, so I decided to give them a new home!


I wanted to give them a bit of makeover, though, so I took an old sheet and a curtain valence we were not using and set to work to repurpose!

From the old flat sheet I made fitted sheets for both of the doll mattresses, a flat sheet for each, as well as a little pillow.

I kept things really simple...sew the edges for the fitted sheets, then flip them inside out.

The unused valence became baby blankets!

I used a seam-ripper to take off the loops for the curtain rod so I was left with a large rectangle. I cut that into two smaller pieces, finished the end, and instant blankets!

The end result:

This was a simple and easy way to repurpose (someone else's) trash and a few things that were collecting dust in my house. And I'm happy to report that a certain little girl is loving her baby bunk beds!

Any recent repurpose stories to share?

Friday, January 27, 2012

Chick-Fil-A style chicken nugget recipe

One of the most read posts on Thrifty Living is the Chick-fil-a nugget recipe. It always makes me cringe slightly when I click back through the post, though, because the pictures are not some of my best quality! So, here is an updated post of the same recipe.


You will need:
Cooking Oil {you can use Peanut but it is not necessary} -- I always use vegetable oil and they taste great
1 Egg
1 Cup of Milk
1 Cup of Flour
2 1/2 Tablespoons of Powdered Sugar
1/2 Teaspoon Pepper
1 Tablespoon of Salt (I cut that in half)
2 Skinless Boneless Chicken Breast, cut in strips or cubed 

First mix together the egg and milk and let the chicken pieces set in the mixture. (There is plenty of speculation that Chick-fil-a adds dill pickle juice to the marinade, but I've never done this). In a separate bowl, combine flour, sugar, salt and pepper and stir.

I let it soak for an hour or so. Its nice to be able to prep everything before hand so all I have to do is coat and cook the chicken when its time to eat.

Heat oil (I used a cast iron skillet on the stove over medium heat). Dredge the chicken pieces in the flour mixture until coated. I usually double dip - so egg/milk, then flour, back to egg/milk, then flour.

Place chicken in hot oil. Cook about 5 minutes per side, depending on the size of your nuggets. Resist the urge to flip too early! You want them to be golden brown.

Once the chicken is cooked on both sides, remove from oil and place on a paper towel to dry. I usually cook mine in two batches.

Be sure to pair with your favorite dipping sauces...we use BBQ, ranch dip, blu cheese dip, ketchup, or honey.

These are really best the day they are cooked. We usually have a few leftovers, and they are just not the same the next day!

Originally from Under the Table and Dreaming, though you can find it on many different blogs as well.

Monday, January 23, 2012

Simple Winter Activities, Part 1


We've had so much fun lately with some winter themed crafts and activities! These are all so simple; you probably have all the supplies already in your home.

First, crystal snowflake:

You could make these for pretty much any occasion. Just mix Borax and boiling water in a widemouth mason jar and suspend your pipe cleaner shape with a string. 

Check back the next morning and (like magic!) you have crystals. I just made a simple snowflake shape, but you could do anything - I think a snowman would be really cute!

Speaking of snowmen, look at this cute couple:

Our supplies here were two toilet paper tubes, construction paper, marker, and glue. We wrapped the toilet paper tubes in white paper, added strips for their hats and scarves and a little triangle nose, then used a marker to dot eyes, mouth, and buttons.


As a final touch, we rubbed some glue on the snowman's hat and cheeks and sprinkled with salt for a nice textured look.

This penguin was the most labor intensive:

For detailed instructions check out Kaboose. There is also a template for the penguin.

I keep construction paper cut into little pieces in bags for mosaics. We don't do them a ton, but it saves a step to have the paper pre-cut.

I threw together this snow shoveling activity so I had a few minutes to prep the penguin craft and my kids loved it! We had a small amount of snow this weekend, so they really enjoyed pretending to shovel and dumping the "snow" over and over again.

I put the cotton balls in a pyrex lid to they had a little help getting them on their shovels. And we dumped the "snow" into all sorts of different containers!

I'm hoping to post a few more of our favorite winter activities soon!

Thursday, January 19, 2012

The Ice Cube Method: Not just for baby food!

Remember the ice cube method for freezing homemade baby food? I've been doing a good bit of ice cube freezing since I started making baby food. I already try to portion and freeze a number of different foods (like spaghetti sauce and shredded cheese, or freezer meals like shepherd's pie or lasagna), but I've found that liquids work really well frozen in ice cube trays.

Some of my recent favorite freezes are juices (like the leftover pineapple juice from canned pineapple), and homemade stock. I've also used muffin tins to freeze stock. They are slightly more practical for me because I usually need at least a cup of stock at a time.

Sometimes the cubes need a little coaxing to pop out of the trays. I just use a paring knife and they come right out.

Recently, I decided to freeze some root beer that had gone flat. Incidentally, have you ever noticed that root beer is one of the best off brand sodas?

I'll use the root beer cubes the next time I make pulled pork. It won't matter that the soda is flat and we love the way pork tastes when it is cooked in root beer!

Do you have any creative ways to freeze food? Even though I'm not posting about food waste anymore I still believe that using up ALL the food you buy is one of the best (and simplest) ways to save money!

Tuesday, January 17, 2012

Charlotte's Web Birthday Cake

This weekend was our daughter's 3rd birthday! We had a great time celebrating, and I especially had fun making her special birthday cake. This year I asked her what she would like on her cake, and amid the dozen or so different ideas, she kept coming back to "animals". 

I looked at a bunch of different animal cake ideas online, and while a bear or a monkey or a fish were all cute (and I'm sure she would have loved it), I wanted to do something a little more specific and personal. I found a video with instructions for a barn cake with farm animals on Betty Crocker, and the idea was born...Charlotte's Web!


We read Charlotte's Web aloud this past year and she really enjoyed the book. I made a special Wilbur cupcake for her. (I made the cake from scratch using this chocolate cake recipe from the Frugal Girl. And I bought canned icing...priorities!)

I made a number of changes to the instructions to make it fit our needs, specifically I omitted all of the coconut! Instead of coconut hay and grass, I just used colored sugar sprinkled on the barn. I also added a spiderweb to the open door of the barn, along with a secret message from Charlotte...can you see it?

The barn was simple; I made 4 cuts in the cake to create a slanted barn roof. Then frosted the whole thing and dragged my offset spatula from top to bottom to create a slat effect for the barn. The red frosting was a little tough to get right. I used a red gel in white icing and followed the tip in the video of adding a little cocoa powder to get a better red color. It was a little more of a faded red than I had hoped, but it still worked well. I used graham crackers for the roof and the barn doors, and pretzels for the doorframes.

For the pigs, I used pink M&Ms in the snout, chocolate chips for eyes, and rolled out fruit leather cut into triangles for the ears.

The sheep were supposed to be covered with mini-marshmallows that were cut in half. My cutting in half didn't work great so I opted to squish them flat instead. I also squished marshmallows into rectangles for the sheep ears instead of gumdrops.

The chicks were rolled in yellow sugar...I love the sleek and clean way they look! I used an orange Starburst candy for the beaks - flattened some with a rolling pin and then cut into little beak shapes. Chocolate chips for the eyes again here.

Check out last year's cake also...cupcake train!
Related Posts with Thumbnails