


Materials bought from Lowes:
2 2x8x8 treated boards
3 deck slats (for stakes to go into the ground)
1 package of screws
8 cu. feet of garden soil
Total cost: $51
I compared this to the flimsy 46"x46" raised bed kit for $40 and a 4'x6' cedar kit for $80...I totally got the better deal.
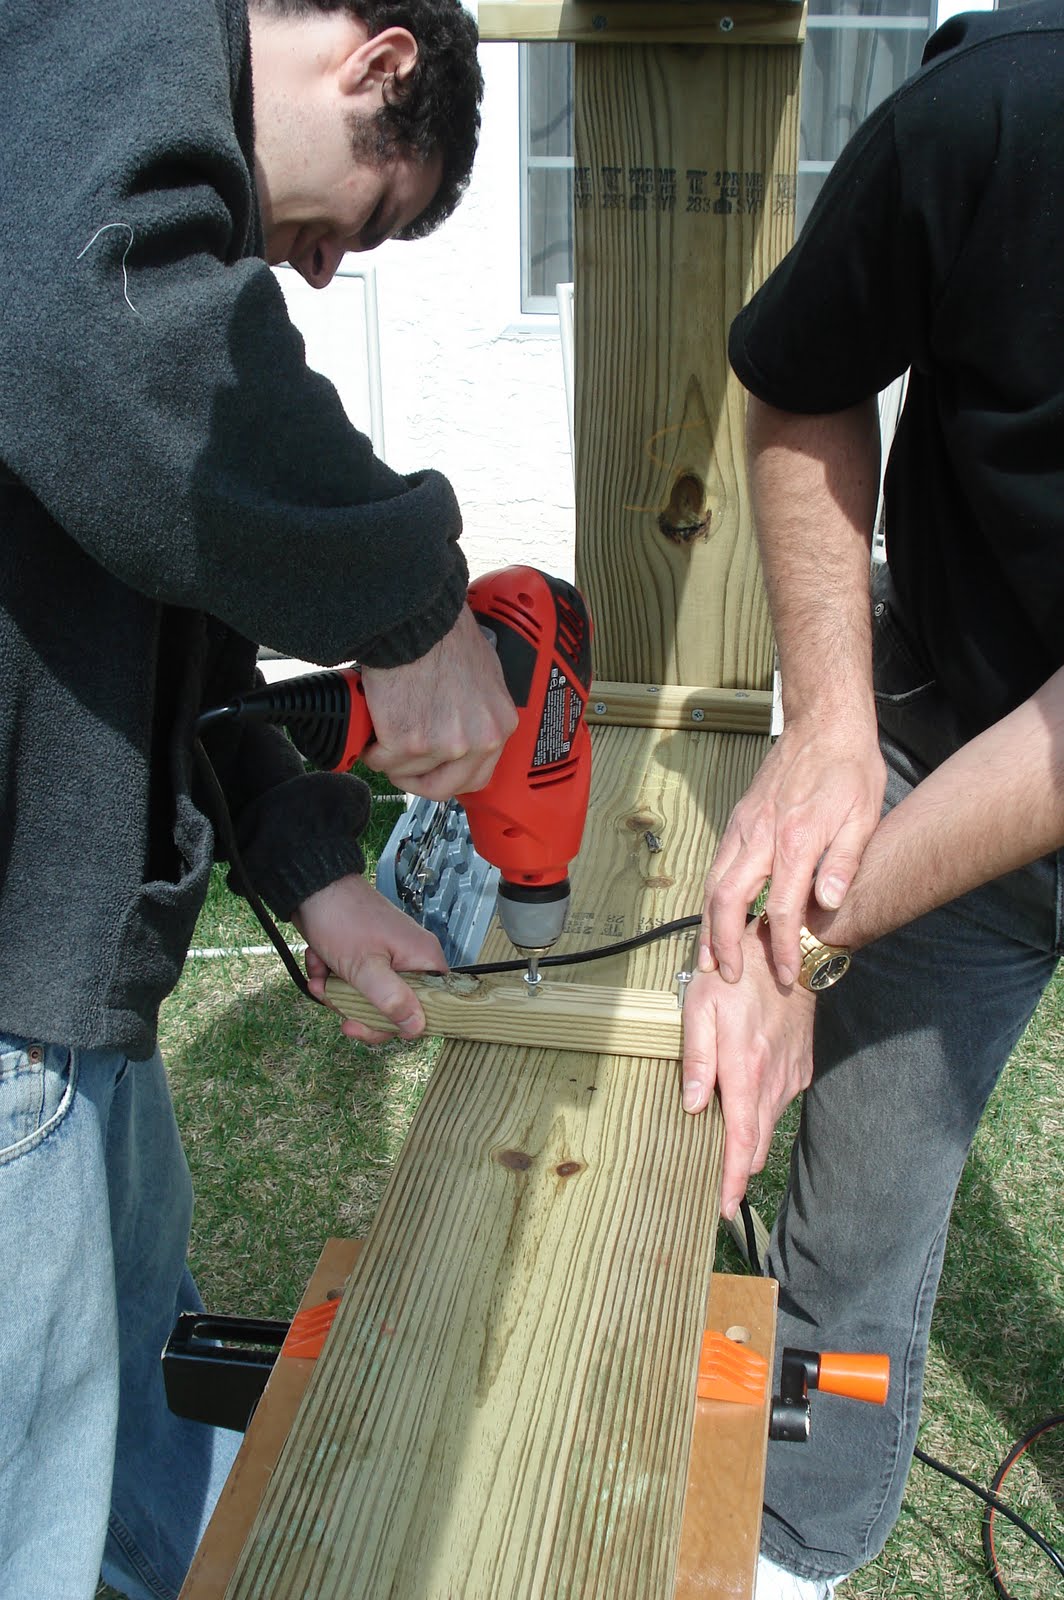
My dad brought his circular saw and a workbench, and he and my husband each had a powerdrill. They used both so they didn't have to switch bits in and out as frequently.
First, we cut the boards once each. I wanted my raised bed to be about 2 feet deep and 6 feet long. They drilled holes for the corners and used screws to fasten in place. Additionally, they cut the deck slats (pictured below) into smaller pieces, with a point at the bottom. These were screwed on at all four corners, as well as every 2 feet along both the front and the back. They go down in the ground to prevent the bed from moving at all.
 They also used a countersink to get the screws flush with the boards.
Attaching a support post to the middle:
 The finished project!
While they were finishing up the bed, my mom and I went to work digging up the grass. A spade works wonders for this...it was a lot easier than we thought, partially because it rained earlier in the week and everything was a little softer.


We set the bed down in place and it fit great! We had to dig out in places for the stakes to go down deep enough and used a level to make sure that the back and front of the bed were even.

Then we just added in the soil and it looked amazing!

This ended up being a fairly simple project, although building the frame was a two person job. It isn't anything fancy, but it is super practical, and was a way better deal than any of the kits they sell in stores. Since we built it, I was able to pick the size I wanted too, which was really good because my space needed something long and more narrow as opposed to the more square kits. We managed to get everything done, included an hour lunch, break in one afternoon.
Last week I posted some links about the easiest veggies to grow. I'm hoping to (re)plant my veggies sometime this week. I transplanted a few last week and they met a quick demise because of 90 degree weather followed by 50 degree weather and a torrential downpour overnight...


Very nice! And it seems like it will likely be pretty weed-free for a while - which is super-nice!
ReplyDeleteGreat project! I like all the step by step photos. I'm hoping to do a few raised beds this summer for some tomatoes. :) Visiting from Kimba's DIY Day. :)
ReplyDeleteLove this idea...now if only my hubby would let me use part of his precious lawn! I've had to resort to Earthbox gardening on my deck. Tricky, but it works. Great job!
ReplyDeletePerfect timing, I was telling my husband last night that I wanted him to build a raised bed for me! Looks great!
ReplyDeletevery nice :)
ReplyDeleteFYI- you should not use treated lumber for veggies gardening. the chemicals can/will leach out into the soil and be absorbed by the veggies.
we hope to have our raised beds bought, built and in within the next weeks. we are just using pine since we are square foot gardening and the soil we will make will not hold standing water and the boards will not touch the ground thanks to weed fabric.